Table of Contents
ToggleHey there, health warriors! 👋 Are you ready to take charge of your weight loss journey but not quite sure about diving headfirst into a full-blown program? Well, buckle up, because we’re about to embark on a thrilling ride into the world of the Optavia DIY plan!
What’s the Buzz About Optavia?
Before we dive into the DIY aspect, let’s chat about what Optavia is all about. Optavia is a popular weight loss program that focuses on portion-controlled meals, regular eating schedules, and a combination of pre-packaged “fuelings” and home-cooked “lean and green” meals.
But here’s the kicker – not everyone wants to commit to the full program or invest in all those pre-packaged meals. That’s where our DIY plan comes in. It’s like having your cake and eating it too (well, a healthy, portion-controlled cake, that is)!
The Optavia DIY Plan: Your Rules, Your Way
Ready to create your personalized Optavia-inspired journey? Let’s break it down step by step:
-
- Understand the Basics The core of Optavia is about eating six small meals a day – five “fuelings” and one “lean and green” meal. Your DIY plan will mimic this structure, but with your own twist!
-
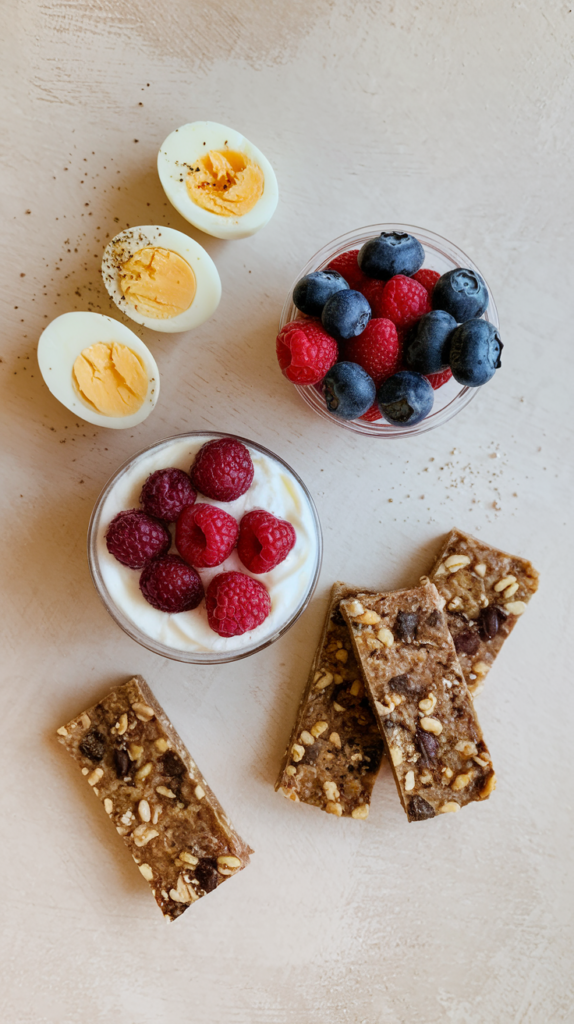
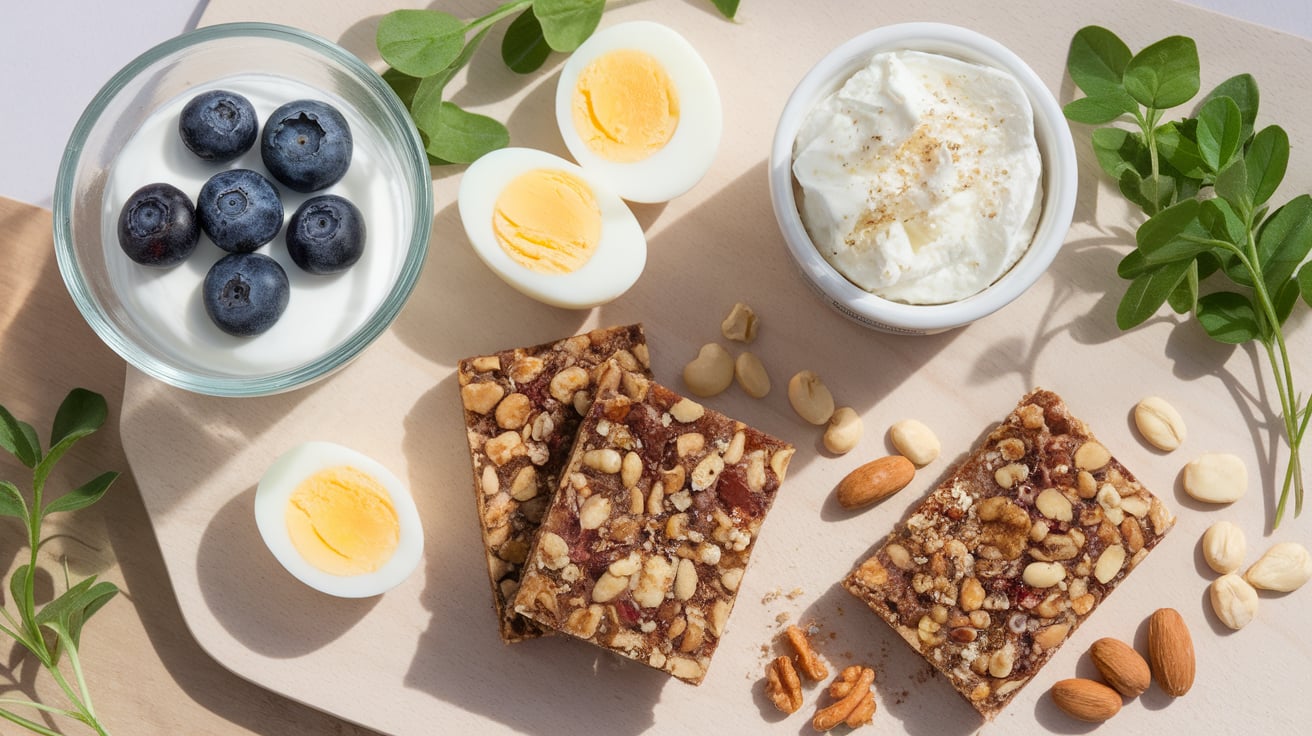
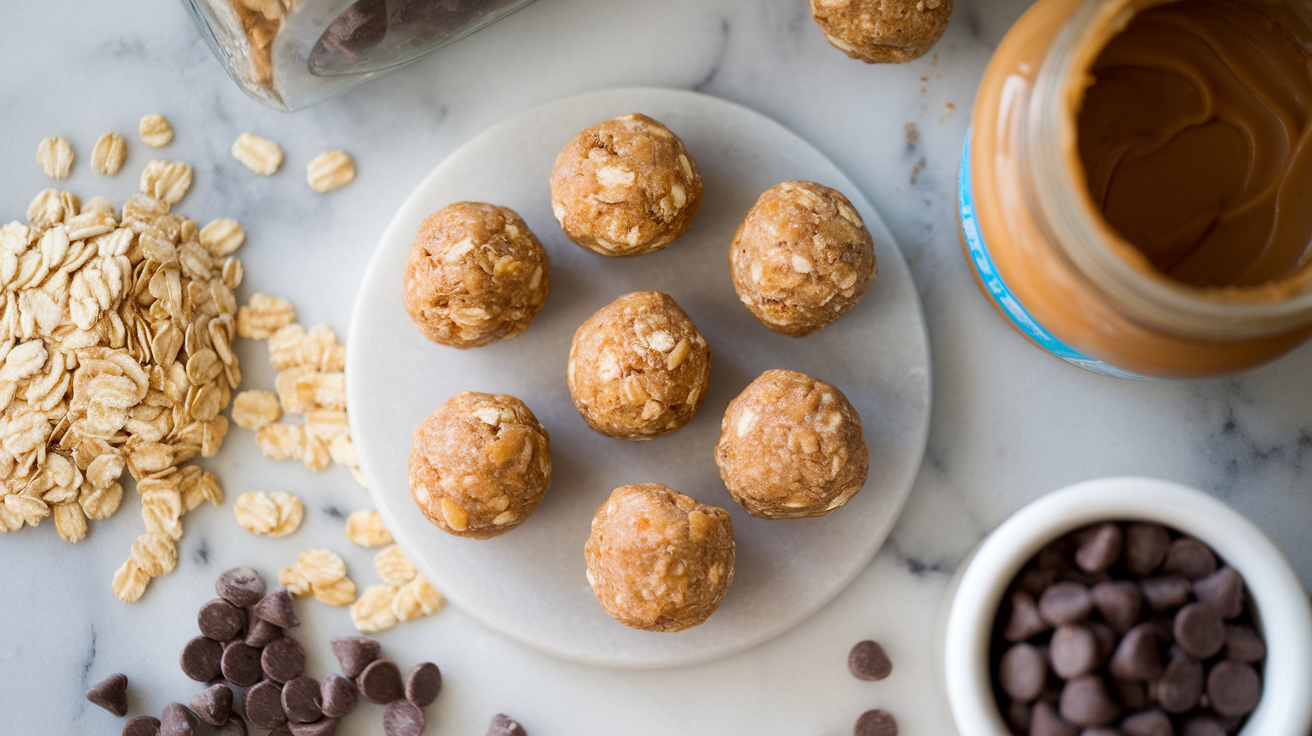
- Create Your Own Fuelings Instead of buying pre-packaged fuelings, we’re going to craft our own! Aim for snacks that are:
- High in proteinLow in carbsAround 100-150 calories each
- Create Your Own Fuelings Instead of buying pre-packaged fuelings, we’re going to craft our own! Aim for snacks that are:
Check out: “Need some inspiration? Check out this protein powder for quick and easy homemade fuelings!”
-
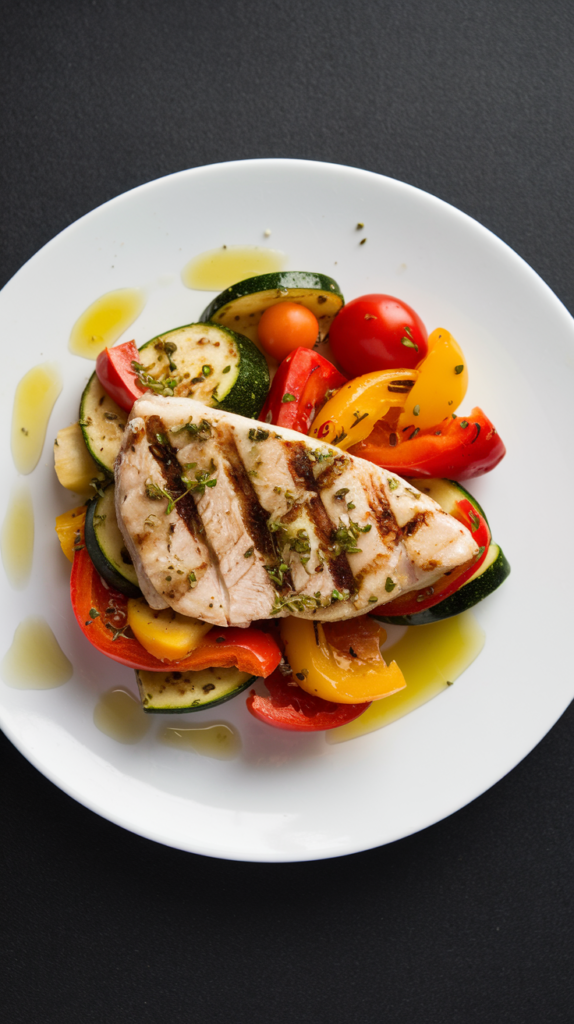
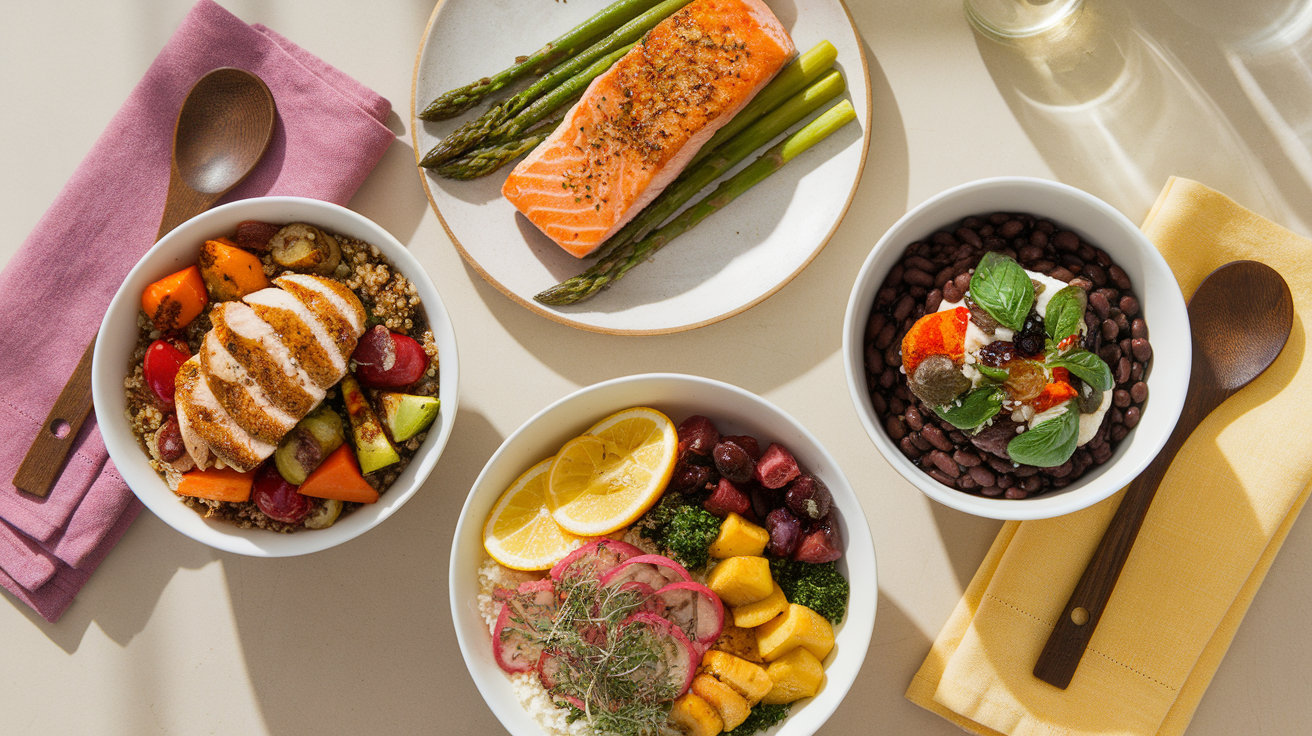
- Master the Lean and Green The “lean and green” meal is your chance to flex those culinary muscles! Here’s the formula:
- 5-7 oz of lean protein
- 3 servings of non-starchy vegetables
- Up to 2 servings of healthy fats
- Master the Lean and Green The “lean and green” meal is your chance to flex those culinary muscles! Here’s the formula:
-
- Plan Your Menu Success loves preparation! Take some time each week to plan out your meals. This not only keeps you on track but also saves you from those dreaded “what should I eat?” moments.
-
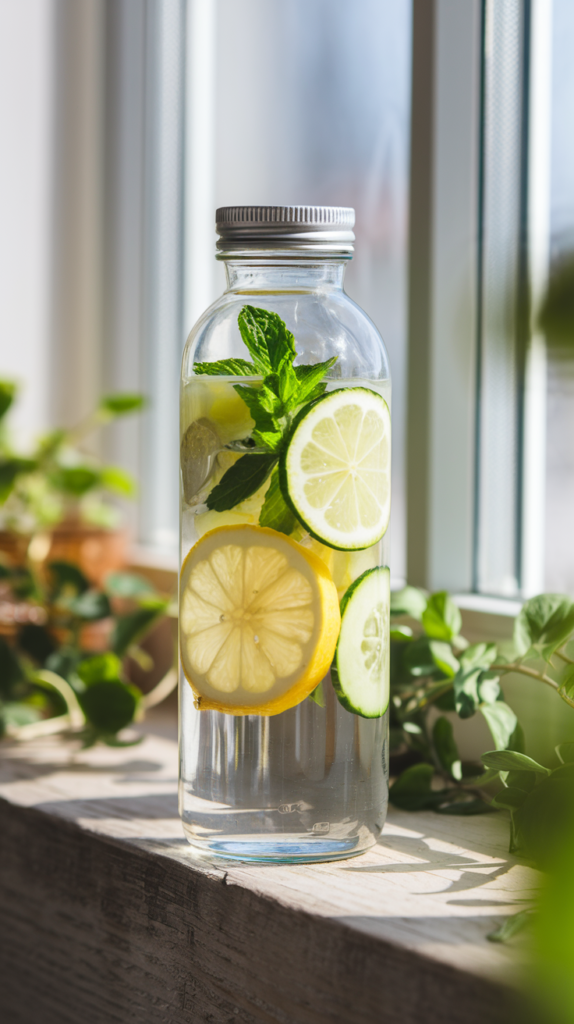
- Stay Hydrated Don’t forget to drink your water! Aim for at least 64 oz a day. It’s like giving your body a refreshing spa treatment from the inside out!
- Check out: “Make meal prep a breeze with this food scale to ensure perfect portions every time!”
DIY Optavia-Style Protein Bars
Want to make your own fueling bars? Here are two easy recipes that match Optavia’s nutritional guidelines. Each bar contains approximately 110-120 calories, 12-14g protein, and 4-5g net carbs.
No-Bake Protein Bars
Prep time: 15 minutes + 2 hours chilling
Makes 8 bars
Ingredients:
- 1½ cups vanilla whey protein powder (about 45g protein)
- ½ cup coconut flour
- ¼ cup almond butter
- ¼ cup unsweetened almond milk
- 2 tbsp sugar-free maple syrup
- 1 tsp vanilla extract
- Pinch of salt
Instructions:
- Line a small loaf pan with parchment paper
- Mix protein powder and coconut flour in a large bowl
- In a separate bowl, whisk together almond butter, almond milk, sugar-free syrup, and vanilla
- Combine wet and dry ingredients until a dough forms
- Press mixture firmly into lined pan
- Refrigerate for 2 hours or until firm
- Cut into 8 equal bars
- Store in airtight container in refrigerator for up to 1 week
Baked Protein Bars
Prep time: 10 minutes
Cook time: 20 minutes
Makes 8 bars
Ingredients:
- 2 scoops (60g) vanilla whey protein powder
- ¼ cup almond flour
- 2 tbsp coconut flour
- 1 tsp baking powder
- 2 large eggs
- ¼ cup Greek yogurt (0% fat)
- 2 tbsp unsweetened applesauce
- 1 tsp vanilla extract
- Stevia to taste
- Pinch of salt
Instructions:
- Preheat oven to 325°F (165°C)
- Line 8×8 inch pan with parchment paper
- Mix all dry ingredients in a bowl
- Whisk together wet ingredients in separate bowl
- Combine wet and dry ingredients until well mixed
- Spread batter evenly in pan
- Bake for 18-20 minutes until edges are lightly golden
- Let cool completely before cutting into 8 bars
- Store in airtight container for up to 5 days
Pro Tips:
- Choose a whey protein isolate for best texture
- Both recipes are customizable – try different flavors of protein powder
- For variety, add sugar-free chocolate chips or nuts within calorie limits
- Wrap bars individually for grab-and-go convenience
The Optavia DIY Meal Plan: A Day in the Life
Let’s paint a picture of what your day might look like on your Optavia DIY plan:
-
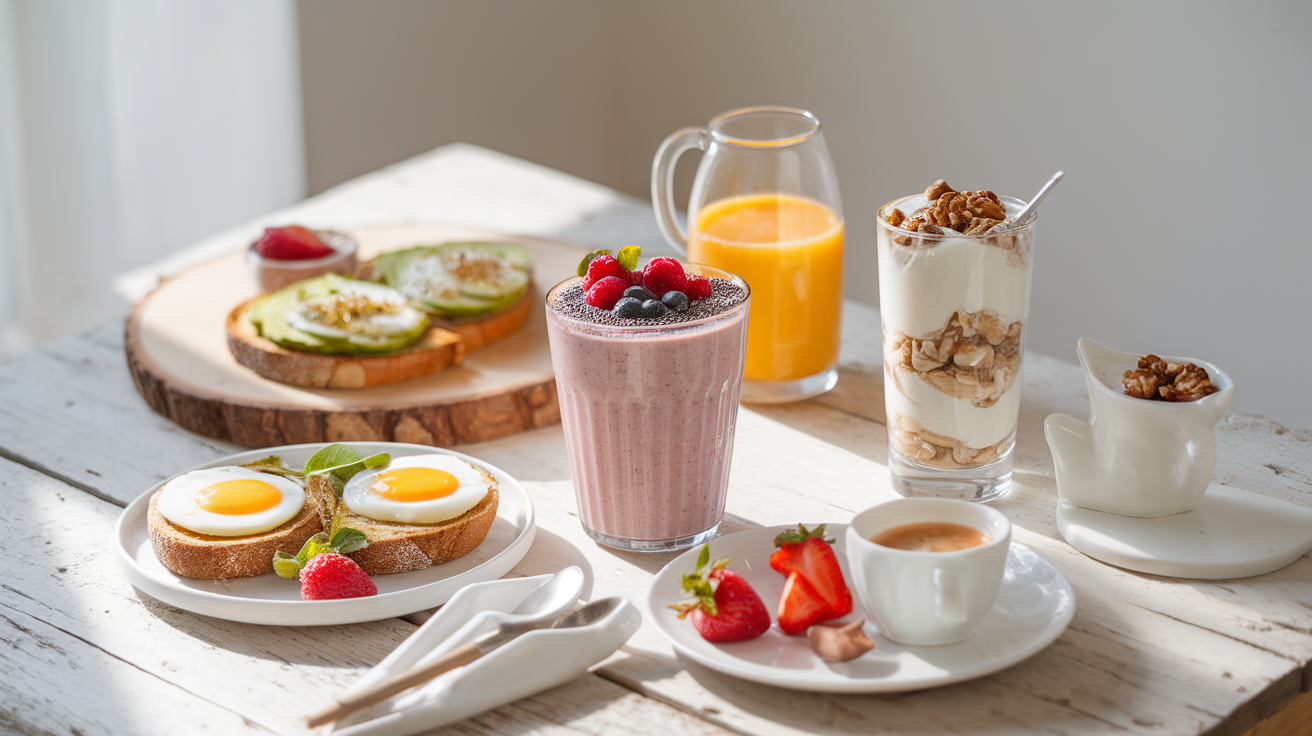
- Breakfast Fueling (7 AM):
-
- Homemade protein smoothie with spinach, berries, and a scoop of protein powder
-
- Breakfast Fueling (7 AM):
-
- Mid-Morning Fueling (10 AM):
-
- Greek yogurt with a sprinkle of low-carb granola
-
- Mid-Morning Fueling (10 AM):
-
- Lunch Fueling (1 PM):
-
- Turkey and cheese roll-ups with cucumber slices
-
- Lunch Fueling (1 PM):
-
- Afternoon Fueling (4 PM):
-
- Celery sticks with almond butter
-
- Afternoon Fueling (4 PM):
-
- Dinner – Lean and Green (7 PM):
-
- Grilled salmon
-
- Roasted broccoli and cauliflower
-
- Side salad with olive oil dressing
-
- Dinner – Lean and Green (7 PM):
-
- Evening Fueling (9 PM):
-
- Homemade protein mug cake
-
- Evening Fueling (9 PM):
Tips for Optavia DIY Success
-
- Prep Like a Pro Sundays are your new best friend! Use this day to prep your fuelings and lean and green meals for the week ahead.
-
- Get Creative with Fuelings Don’t let boredom creep in! Experiment with different flavors and textures in your homemade fuelings.
-
- Listen to Your Body While the plan suggests eating every 2-3 hours, always listen to your body’s hunger cues.
-
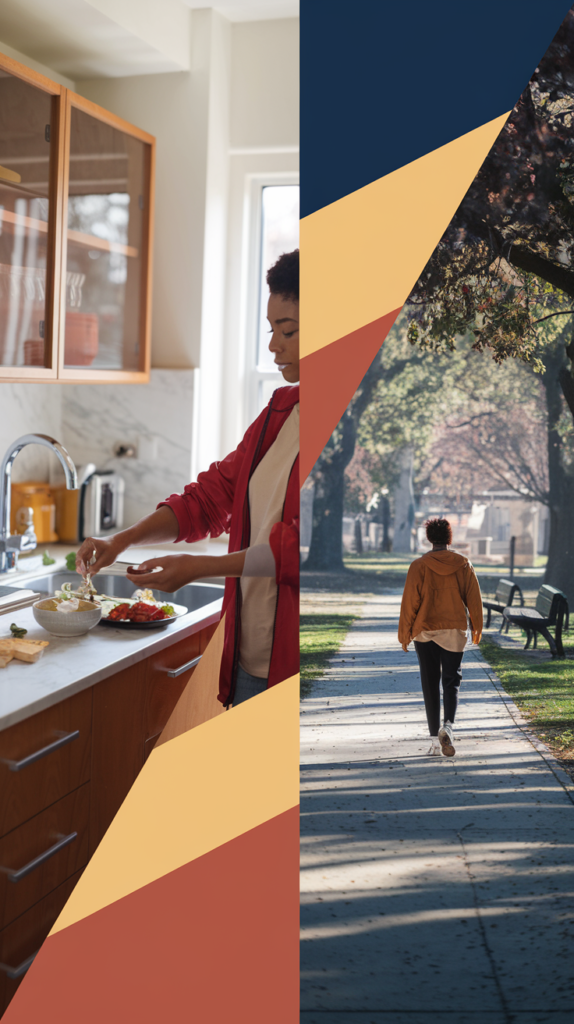
- Stay Active Incorporate regular exercise into your routine. Even a 30-minute walk can do wonders!
-
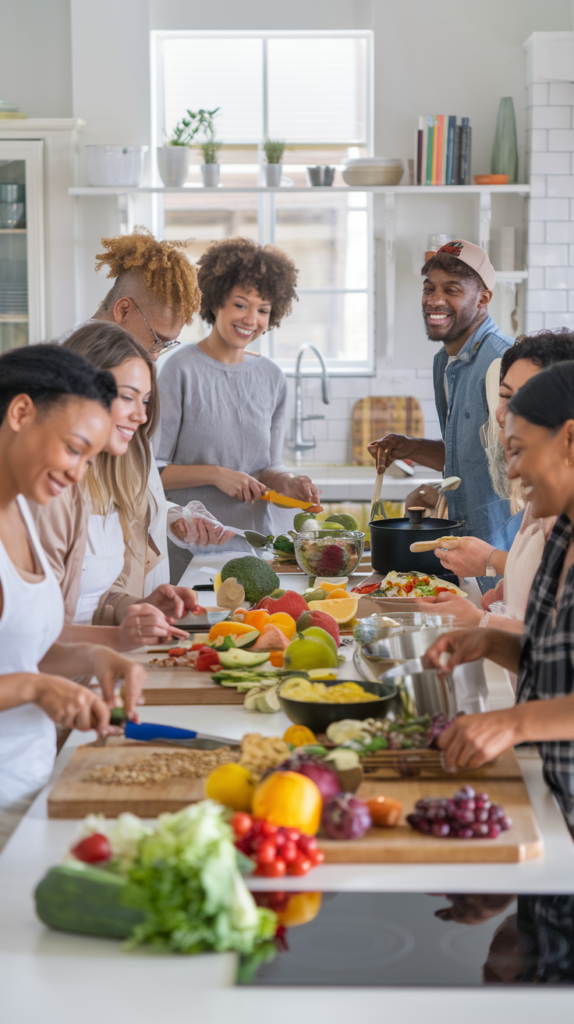
- Connect with Others Join online communities or find a buddy who’s also on a health journey. Support can make all the difference!
The Pros and Cons of Going DIY
Let’s keep it real – every approach has its ups and downs. Here’s the scoop on the Optavia DIY plan:
Pros:
-
- Flexibility: Adapt the plan to your preferences and dietary needs.
-
- Cost-Effective: Save money by preparing your own meals and snacks.
-
- Customization: Tailor the plan to your taste buds and nutritional goals.
-
- Skill-Building: Learn to create balanced, portion-controlled meals.
Cons:
-
- Time-Intensive: Requires more meal prep and planning.
-
- Less Structure: You’ll need more self-discipline without pre-packaged meals.
-
- Nutritional Balance: Ensure you’re meeting all nutritional needs without the guidance of pre-formulated fuelings.
Is the Optavia DIY Plan Right for You?
Ask yourself these questions:
-
- Do you enjoy cooking and meal prepping?
-
- Are you comfortable with tracking your own nutrition?
-
- Do you prefer flexibility in your eating plan?
-
- Are you motivated to stay consistent without a strict program?
If you answered “yes” to most of these, then the Optavia DIY plan might be your ticket to success!
Your Action Plan: Starting Your Optavia DIY Journey
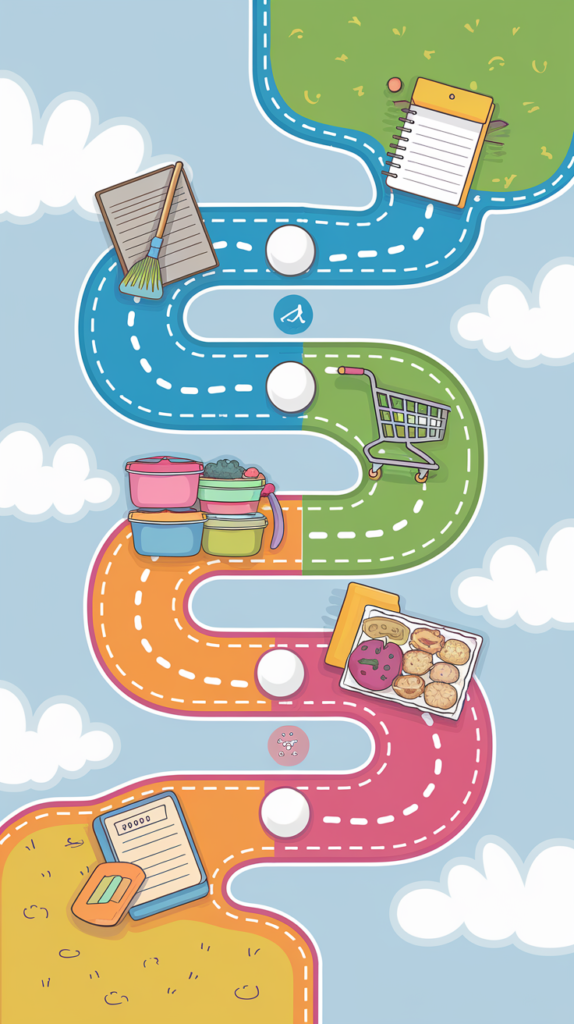
Ready to take the plunge? Here’s your 5-step action plan to kick off your Optavia DIY journey:
-
- Clean Out Your Pantry: Out with the old, in with the new! Remove temptations and stock up on healthy essentials.
-
- Create a Meal Plan: Start with a one-week plan. Include your fuelings and lean and green meals.
-
- Go Shopping: Armed with your meal plan, hit the grocery store for all your healthy goodies.
-
- Prep Your Fuelings: Spend some time preparing your homemade fuelings for the week ahead.
-
- Set Up a Tracking System: Whether it’s a app or a good old-fashioned journal, find a way to track your meals and progress.
Wrapping It Up: Your Optavia DIY Adventure Awaits!
There you have it, health champions! Your guide to creating your very own Optavia DIY plan. Remember, this journey is all about finding what works for YOU. It’s not about perfection, it’s about progress.
So, are you ready to take control of your health and weight loss journey? Your Optavia DIY adventure is just beginning, and let me tell you, it’s going to be one delicious, empowering ride!
Now, I want to hear from you! Have you tried creating your own DIY health plan before? What worked? What didn’t? Drop your thoughts in the comments below – let’s learn from each other and crush those health goals together! 💪🥗
Remember, health warriors, this is YOUR journey. You’ve got the map, you’ve got the tools, and most importantly, you’ve got this! Here’s to your health, your happiness, and your oh-so-bright future. Now go out there and make it happen!
Until next time, stay fabulous and fueled! 🌟

